MINI MUSEUMS
Grantown Museum has created a trio of mini museums that are available for loan to schools, care homes or other institutions. If you would like to borrow one of them please contact - [email protected]
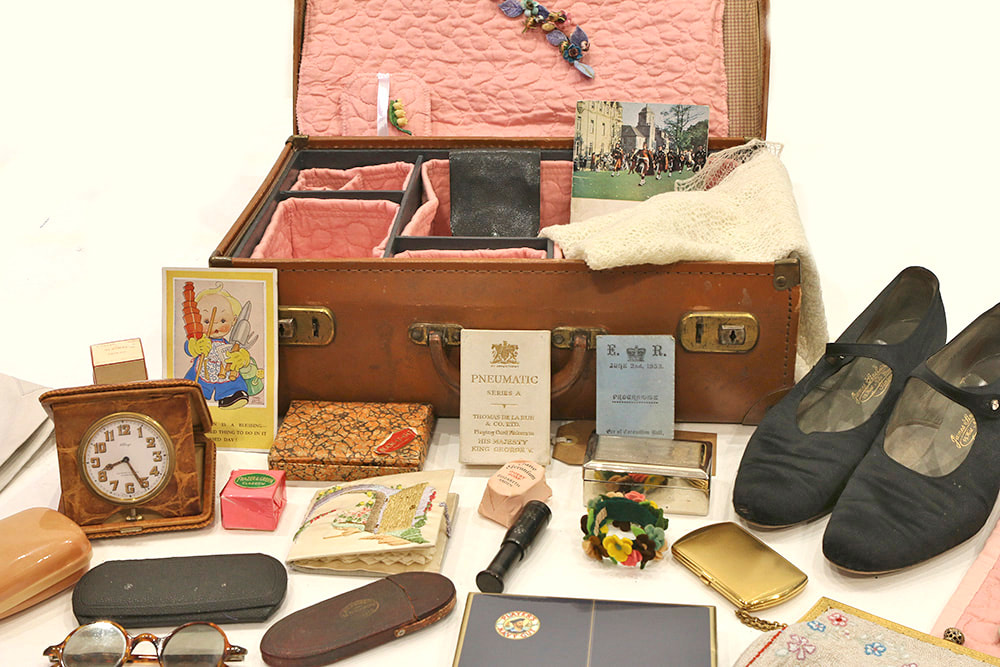
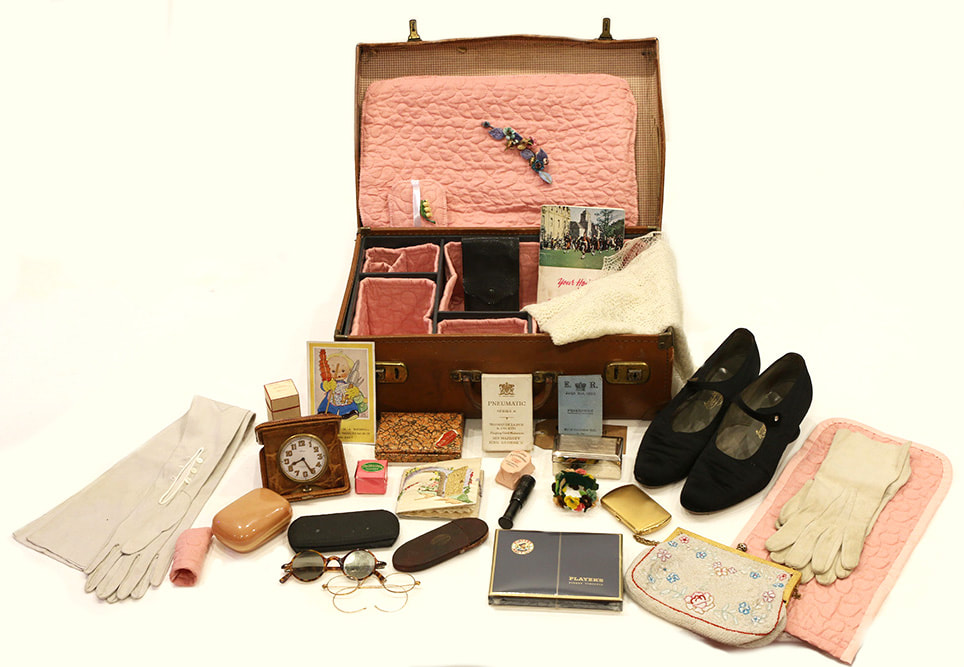
"A Holiday in Grantown""A Holiday in Grantown" has a selection of personal items from the 1940's - 1960's that a lady would have taken with her on her travels.
|
Includes - gloves, evening shoes, grooming items, toiletries, evening bag, sunglasses, reading glasses, shawl, games, jewellery, travel clock, sewing kit, booklet about Grantown-on-Spey. Presented in a vintage leather case.
|
The Making of the Mini Museums
When Dan (the museum manager) asked me if I could make the mini museums out of some objects we had in the museum I said “no problem” – but then when I brought the objects home I realised I was not sure exactly how to proceed. So, firstly, I checked out what other museums had done, and looked at it for a while…and then procrastinated…and thought about it some more…because I was not sure exactly where to start. Eventually I decided I just had to get on with it, so thought the first thing I had to have was a divider to separate things out, so made a box in thin plywood (I glued and pinned it together), planned how the objects should fit into it and then added dividers to the box and then finally painted it. Then it needed some cushioning to stop the objects moving around when the case was closed. So, I found an old quilt that I was not using, and cut that up and sewed little baskets to hold the objects. And then separate little holders for delicate objects and then a cover to protect all the contents. Sounds quick then I say it, but took me ages…
That was the first mini-museum (“A Holiday in Grantown”).
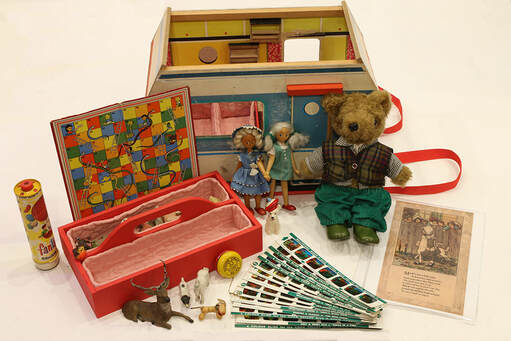
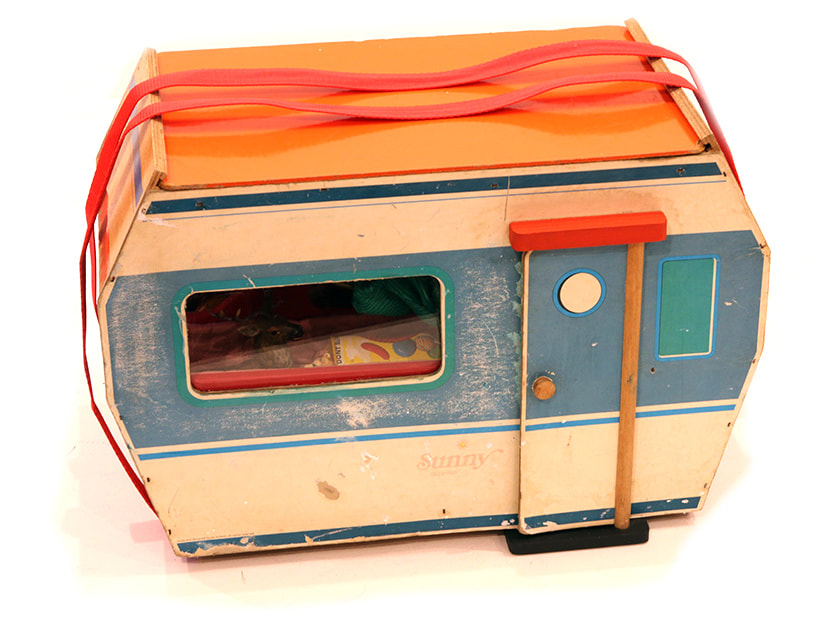
The second one was the toy box made from an old “Sindy” caravan. (Note - if you don't know who Sindy was, check out this BBC News story "How Barbie crushed Sindy"). This was more difficult than the suitcase as it was an awkward shape…and it had furniture inside. First of all, I tried to paint it up as a lot of the paint had worn off – this did not work as the finish (vinyl on hardboard?) would not accept the paint and I had to wash it off. I was able to paint the wooden bits, which made it look better. I removed the furniture and made little boxes for the bottom layer to hold the dolls and cars (in much the same way as the suitcase, only the sides were angled). I then made a removable tray for the upper layer to hold the small animals and the other small toys, and made the same quilted liners for the boxes that I had for the first one. The larger things like the teddy were placed on top of that. Then I added straps to make it easy to carry. This one I called “Toys Take a Trip”.
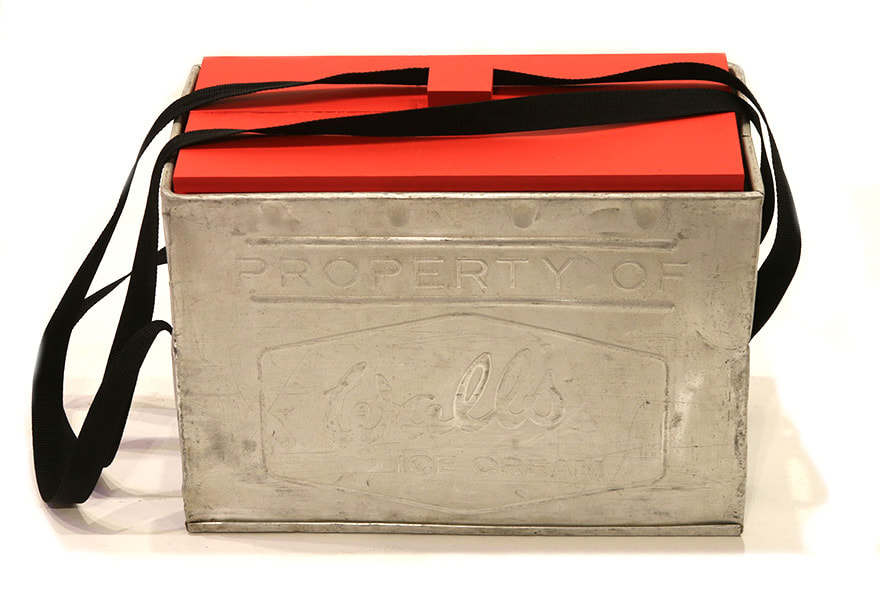
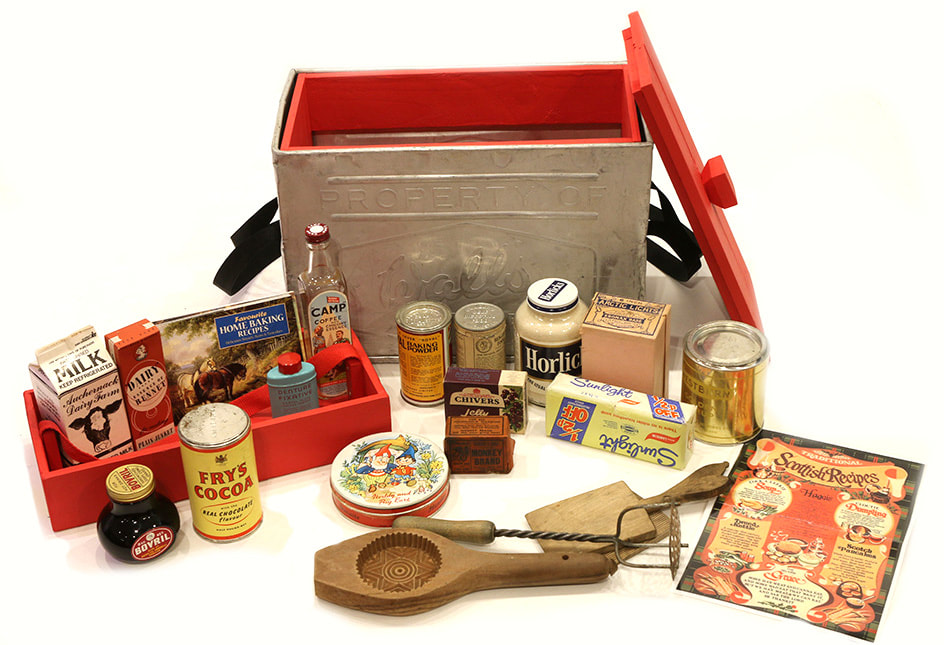
Now I was in the swing of things and the third one was much quicker. Also, it was a symmetrical box, which made things easier (it was an old Walls ice cream metal box). I had run out of the thin plywood I used for the other 2 boxes, and because of lockdown, could not get anymore, so had to get inventive with scraps of wood I had out in my workshop. I built an internal structure with a lower tray, and a removable upper tray, added the straps by screwing though the webbing, anchoring it to the box and the internal wooden structure. I made a lid and painted the wood, cleaned up the metal box by scrubbing it with a Brillo pad and that was it! I did have to empty the liquid contents of some of the foodstuffs (50 year old rennet anyone? Yuck!). This one is called “Don't Forget the Messages”.
Suzi
September 2020
